As a former fishing guide, when it comes to finding fish, my secret isn’t luck—it’s about understanding how to use a sounder/fish finder effectively. One of the most common issues I see is that anglers do not understand how to drive the boat to assess a spot correctly. This also changes depending on if you are using your side image vs 2D as your assessment tool.
If you have gone to a spot and found fish on a certain occasion but gone back another time and can’t find them, don’t think they’re not there.
It’s probably because you haven’t assessed the area thoroughly – and you do this differently with side image vs 2D.
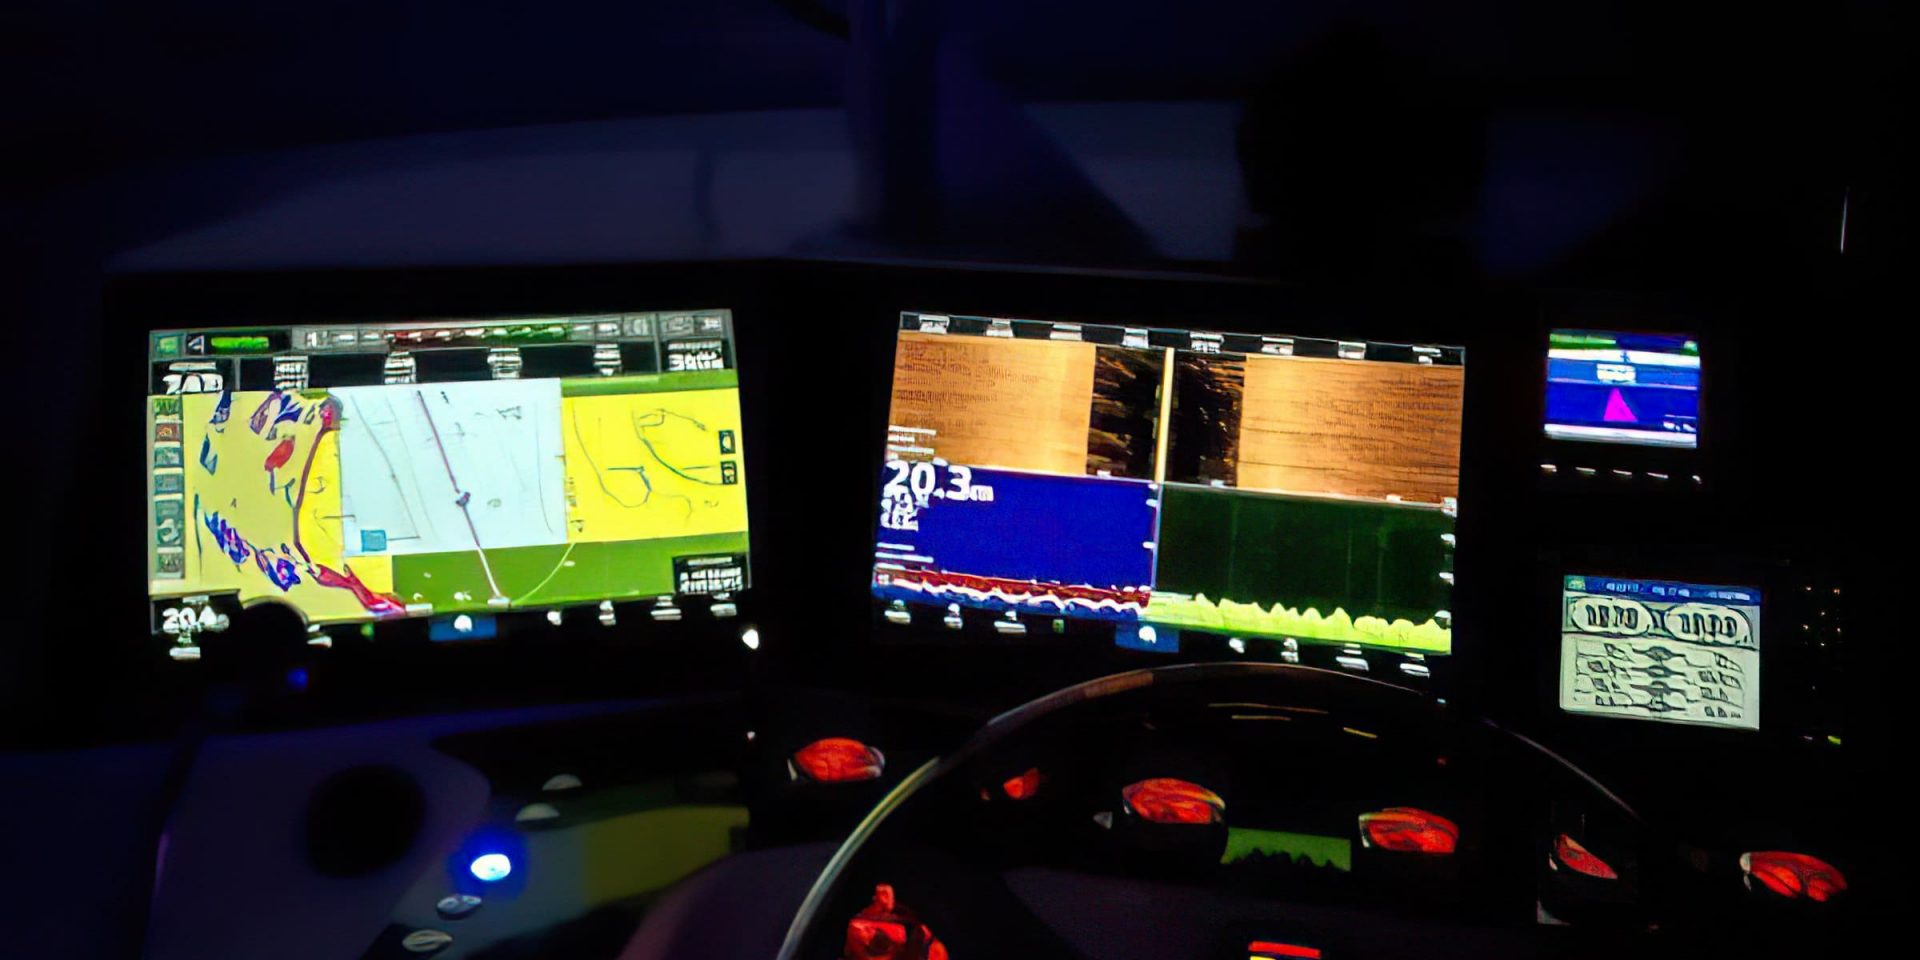
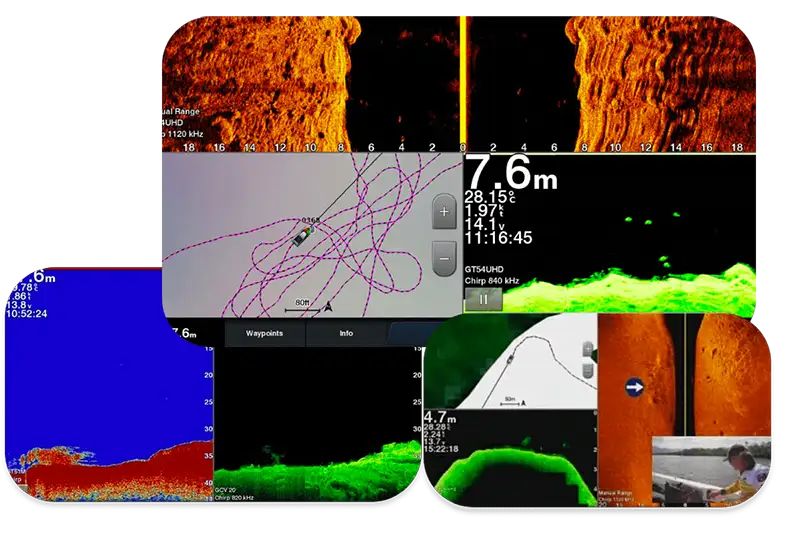
Nowadays many anglers have a GPS sounder combo that includes side image, down image, and 2D.
However, old school anglers still may be running only 2D.
Certainly, in the past I only had 2D and finding fish resulted in having to spend a lot more time moving around an area to cover the entire hole or ledge that I was assessing.
This is because 2D only “sees” a small coverage area under your boat in the shape of a cone (like a torch shining down). The area of coverage will depend on depth and also the beam angle of your transducer.
The main reason we cover so much ground when checking out new holes with our sounder is because the fish will generally be somewhere in that hole.
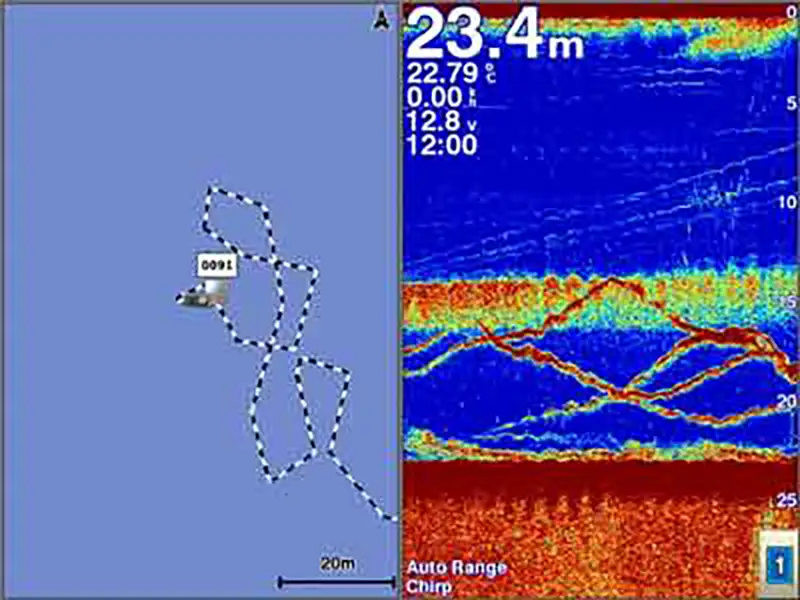
They could simply be in another part of it, so check the whole place out instead.
To find them with 2D, put the time in to not only zig-zag the ledges but also check either end as they will usually be there somewhere. Unless of course they have been chased out to sea by bad barometrics or other such unfavorable influences etc.
Whereas side image (as the name suggests) – covers ground out to the side of the boat.
As you’ll see in the following video, it is far less time consuming to use side image to assess an area, due to the less arduous search pattern. Down view can also enhance your understanding of the bottom when used in conjunction with side image.
That said I have managed to catch over 2000 massive metre plus saltwater barra and innumerable other trophy species with only 2D so no need to upgrade your sounder – just ensure you use it correctly! Personally I like to use all three modes as it makes life so much easier.
Grab a copy of my Big Picture training to learn more about how to use the different combo modes e.g. side image vs 2D and down image.
Let’s dive into how I use these tools and why mastering them can make or break your fishing trip, especially when assessing a creek.
Side Imaging vs. 2D: What’s the Difference?
Both side imaging and 2D have their strengths, and knowing when to use each can save you a lot of time and effort on the water.
Side Image
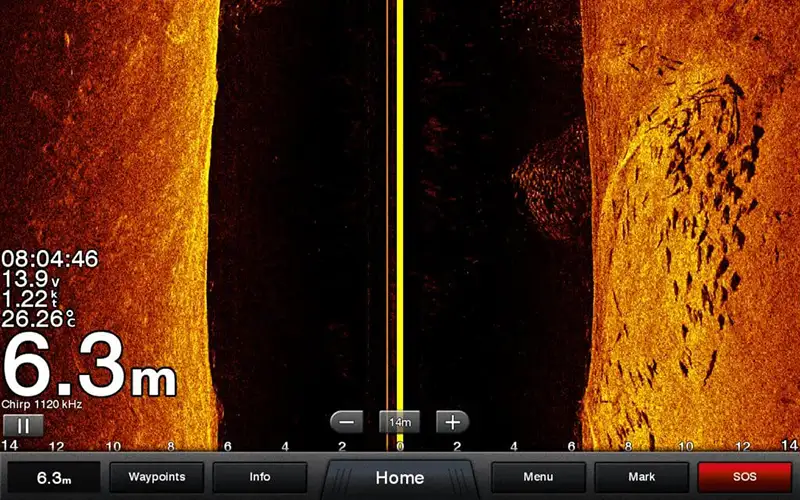
- Provides a wide view of the area on both sides of your boat.
- Best for spotting structures like snags, rock bars, or bait schools without needing to drive directly over them.
- Ideal for creeks and shallow waterways, where fish are often spread out along the edges.
- Can cover a lot of ground in one pass and fish are clearly visible in shallower depth ranges.
2D (traditional)
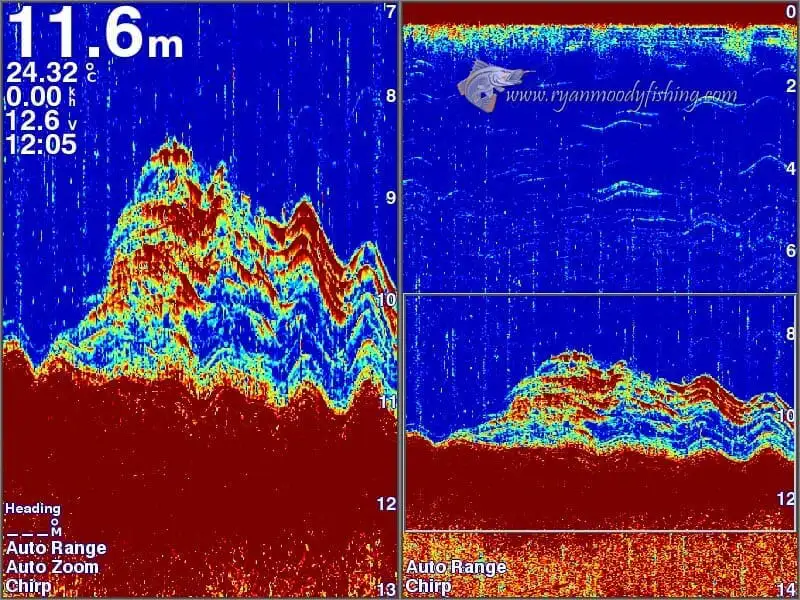
- Offers a detailed look directly beneath your boat (but not as detailed as down image).
- Perfect for getting better fish representation, understanding the water column beneath you, pinpointing fish holding close to the bottom.
Down view
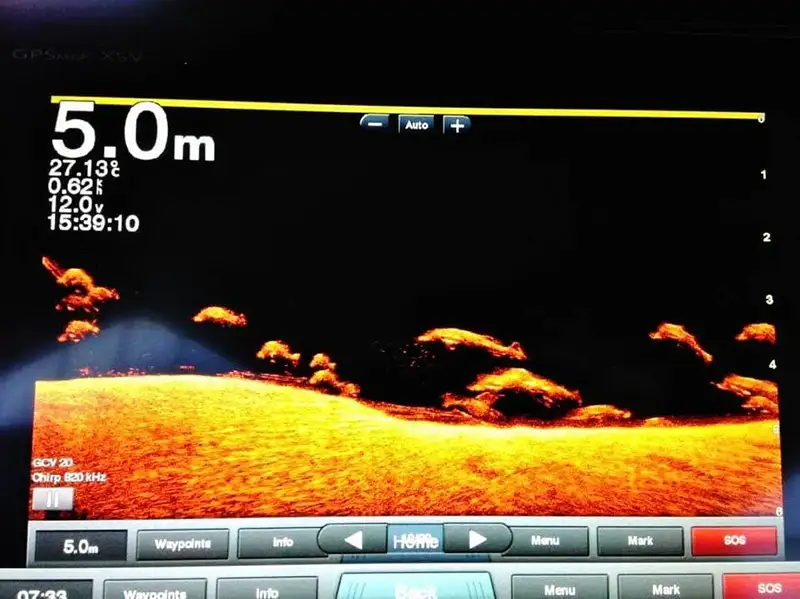
- Another assessment tool to give you a different perspective than 2D.
- Down view also looks under the boat but with a curtain-shaped beam (instead of a cone-shaped beam).
- Used with side scan and 2D, you’ll get a really good idea of what is underneath you.
When comparing side imaging vs. 2D in the shallows, I often rely on side imaging to locate fish-holding areas quickly, then refer to my 2D or down view for assessment.
How I Use Side Imaging vs. 2D in Creeks
Creeks can be tricky to fish. The structure is complex, tides shift constantly, and fish don’t always stay in one spot. That’s where combining side image and 2D/down view becomes essential.
- Starting with Side Imaging:
When I enter a creek, the first thing I do is scan wide with side imaging. This allows me to locate major features—like submerged trees, deep holes, or bait schools—without running over them. Side imaging is particularly useful in tight spots where fish might spook easily. - Switching to 2D:
Once I’ve marked a promising spot with side imaging, I’ll pass over it with a 2D and/or down view. This gives me a clear, vertical picture of the water column. It helps me confirm whether the shadows or shapes I saw earlier are fish or just structures. Sometimes rocks can look like fish. It also helps me determine the size and species. - Continual observation:
Fish don’t always sit in the same spot—they can move around in relation to current changes. This is what we teach in our online courses – how and when fish move. See our online fishing courses here.
Why Both Imaging Types Are Critical
Here’s an example: I once approached a narrow creek with a mix of mangrove-lined banks and deep holes. Side imaging immediately revealed a large snag about 10 meters to the left. Using 2D over the area, I spotted baitfish hovering just above the structure, with predators holding deeper. Without side imaging, I’d have missed the snag altogether. Without 2D, I wouldn’t have known the fish were there.
The real magic of side imaging vs 2D lies in how they complement each other. Side imaging helps you find the where, and 2D (and down view) helps you understand what and where they are in relation to the structure.
Common Mistakes When Using Side Imaging vs 2D
- Overlooking Side Imaging:
When finding fish with a sounder, many anglers rely solely on 2D and end up driving past fish or structures they could’ve spotted with side imaging. - Not Interpreting Shadows Correctly:
Side image creates shadows that indicate height and distance from the boat and bottom. Misreading these can lead to wasted time not fishing directly ON the fish due to not knowing their exact position. - Skipping the Assessment Phase:
It’s tempting to start fishing immediately, but putting in the time to scan thoroughly pays off. A few extra minutes of scanning can save hours of frustration later.
Final Thoughts on Side Imaging vs 2D.
The debate between side imaging vs. 2D isn’t about which is better—it’s about knowing when to use each one. Both are essential tools in your fishing arsenal, and together they can unlock the full potential of any fishing spot.
So next time you’re assessing a creek, take the time to scan wide with side imaging, then zoom in with a 2d / down view to uncover the details. It’s a game-changer—and the key to finding fish consistently.
Additional resources on using a sounder to find fish are below:
UHD transducer best in the creeks
Getting your sounder right to find untouched Wonky Holes
If finding fish with your sounder is not your strong point and have trouble identifying fish, our $20 Sounder Skills 1 course will help!
Click the button below to get started. It’s cheap as a takeaway lunch at the moment and only takes about 40 minutes to watch. It also includes (as a free bonus) our sounder interpretation presentation.
Stop scratching your head and start catching fish in less time using my knowledge.


