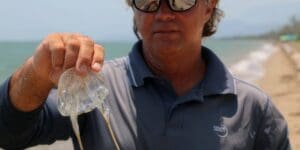
In Episode 3 of our boat slipping saga, we fix more mistakes and install our new Livescope Transducer (LVS32).
If you missed the first two episodes you can watch them here >> EP1 and EP2.
To recap, we took the boat for a pre-haul outrun, then pulled her out discovering a few “issues”.
Before drilling a 30 mm hole in the hull to install the Livescope Transducer!
That was definitely a case of measure 10 times, drill once.
Installing the Livescope Transducer.
After discovering that the cutlass bearings needed replacing (requiring removal of the shafts), and that many of our hose clamps were cactus, installing the new LVS32 was one of the fun jobs (kind of).
The purpose of this transducer is not so much to find fish. But rather to navigate our way in uncharted or low visibility waters.
For example anchoring on the leeward side of reef edges, with cloud cover and hence no ability to see shallow reef bommies.
Or entering unknown river entrances on our trips to remote locations.
Hence we wanted to install the Livescope transducer (forward-facing LVS32) to help us see underwater in real-time.
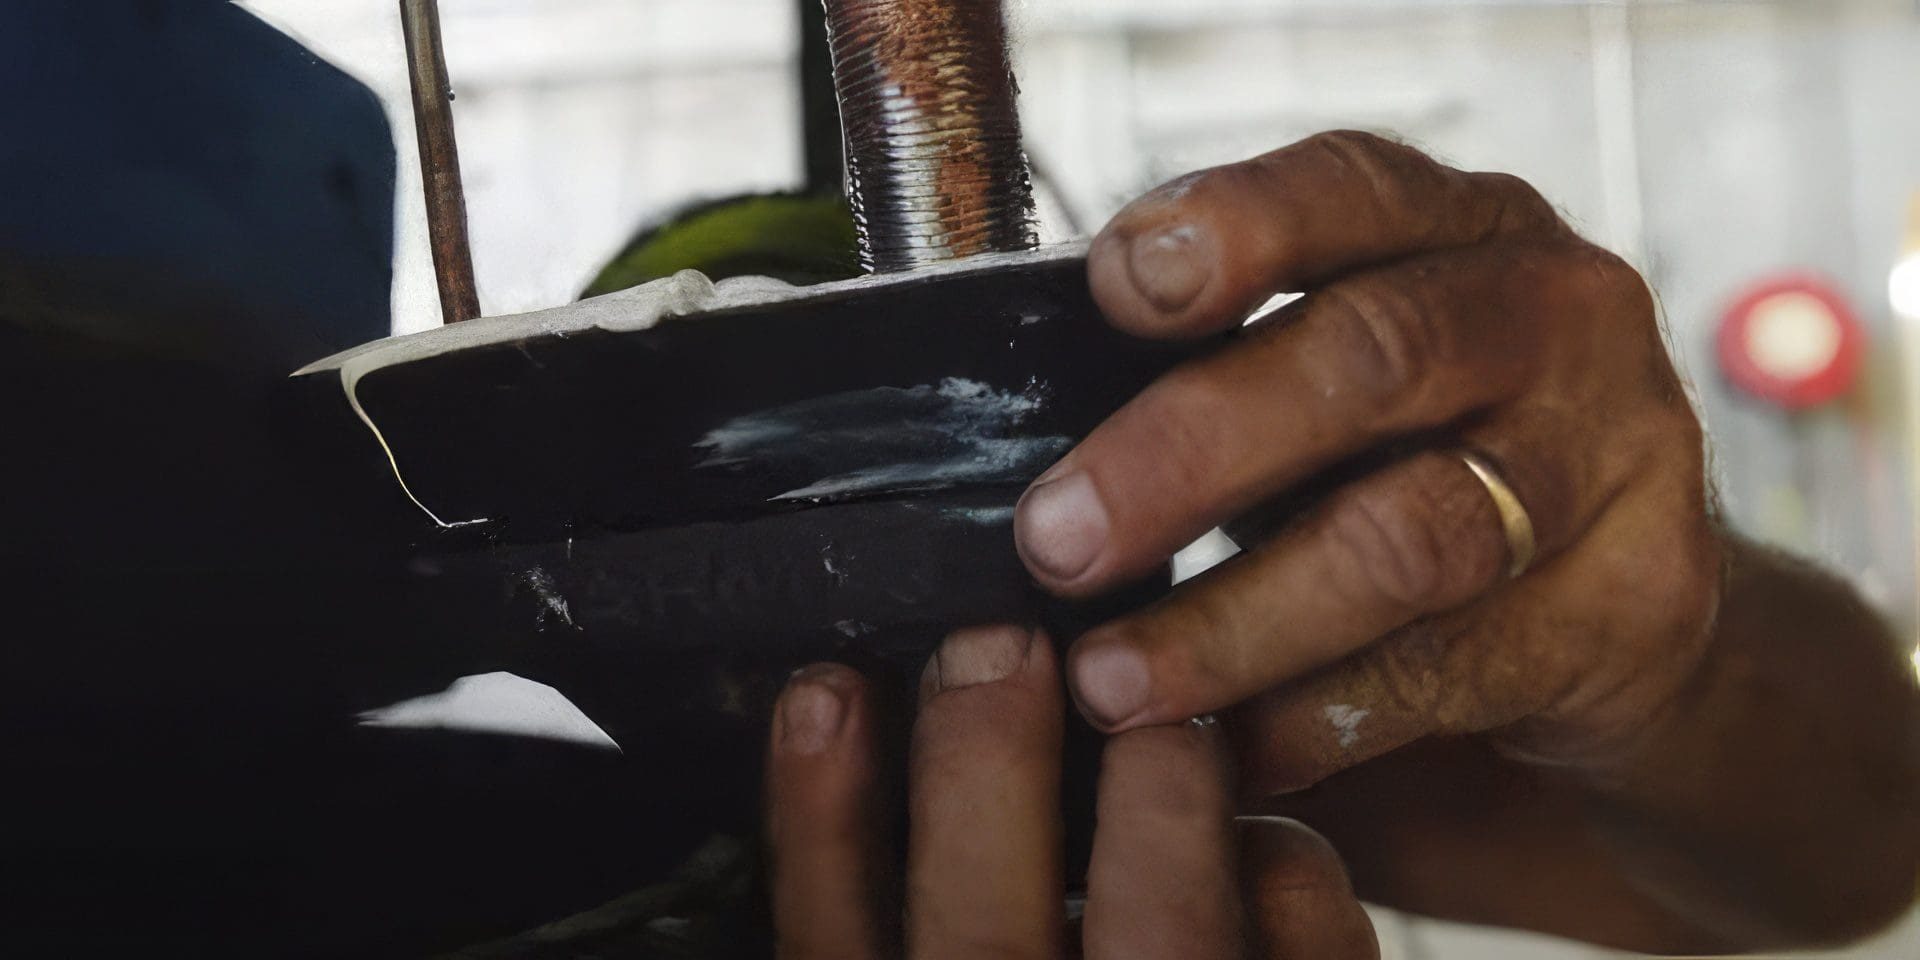
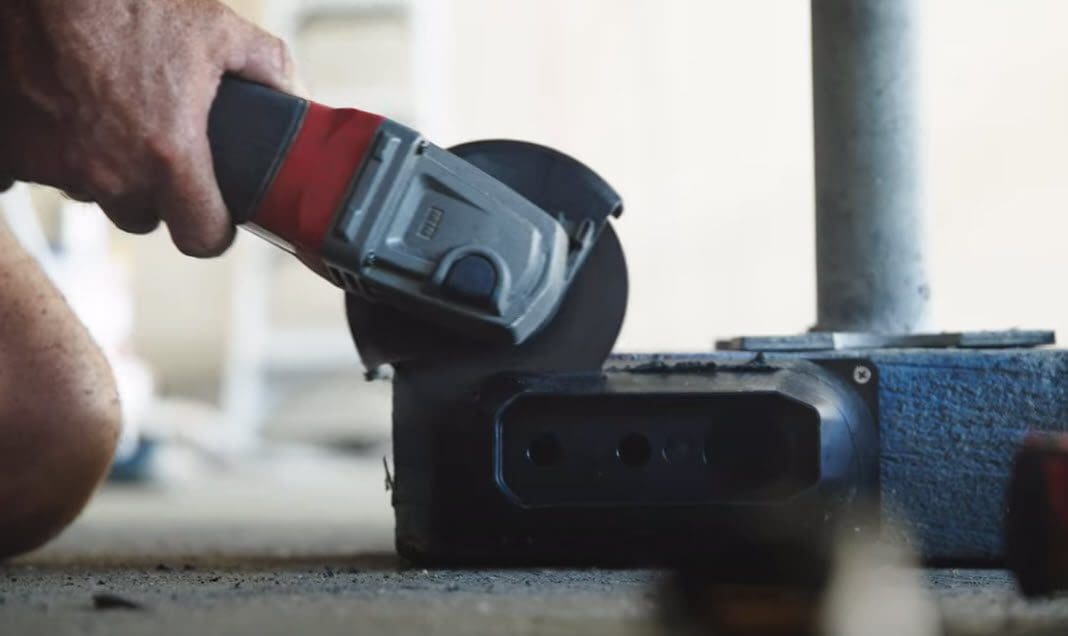
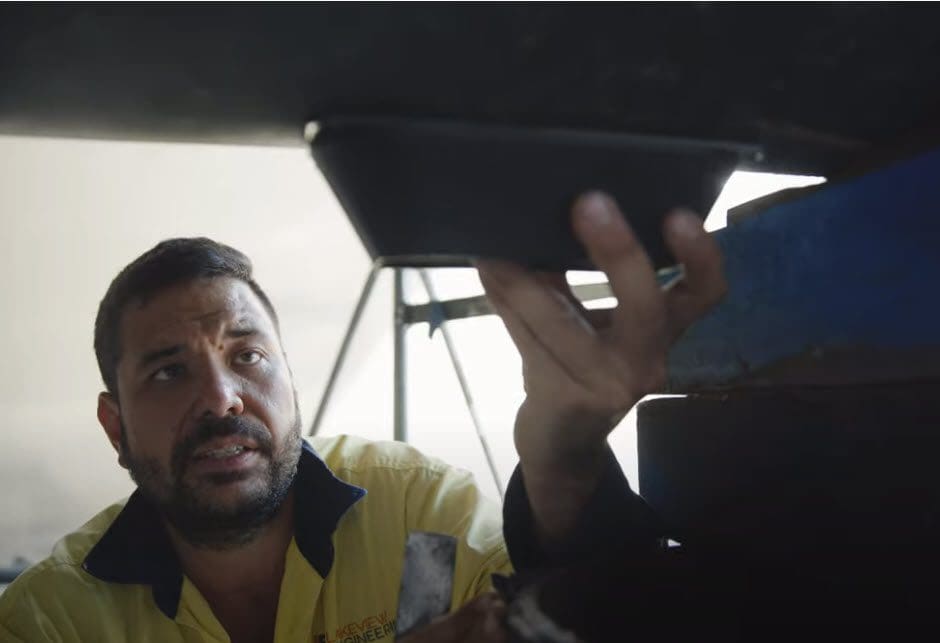
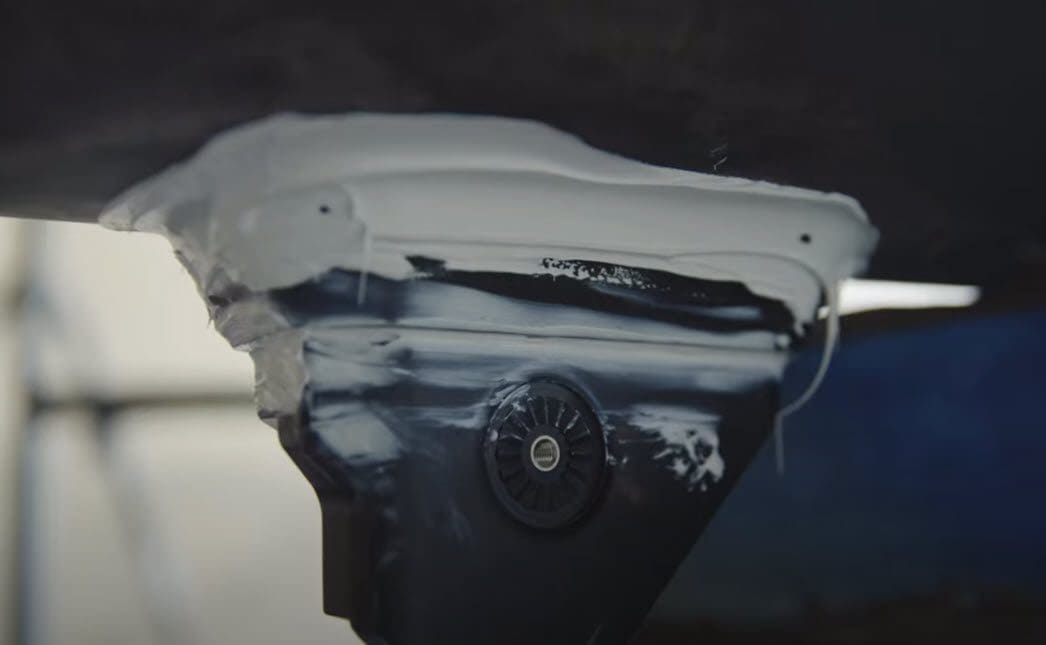
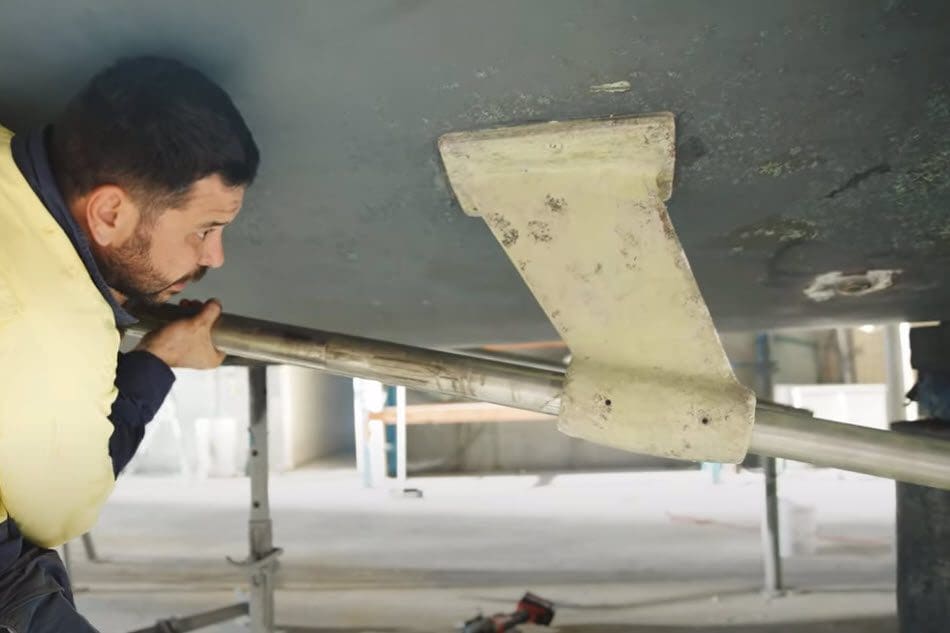
To install we modified the fairing block to suit the hull with a grinder.
And made sure to use plenty of sikaflex to ensure no leakage.
We have tightened those bolts up good and tight and so far so good.
While installing the livescope transducer went according to plan, some other aspects of the job proved more difficult.
Watch the video below (episode 3) to join the fun.
Installing the livescope transducer was not the only hole in the hull we needed to attend to.
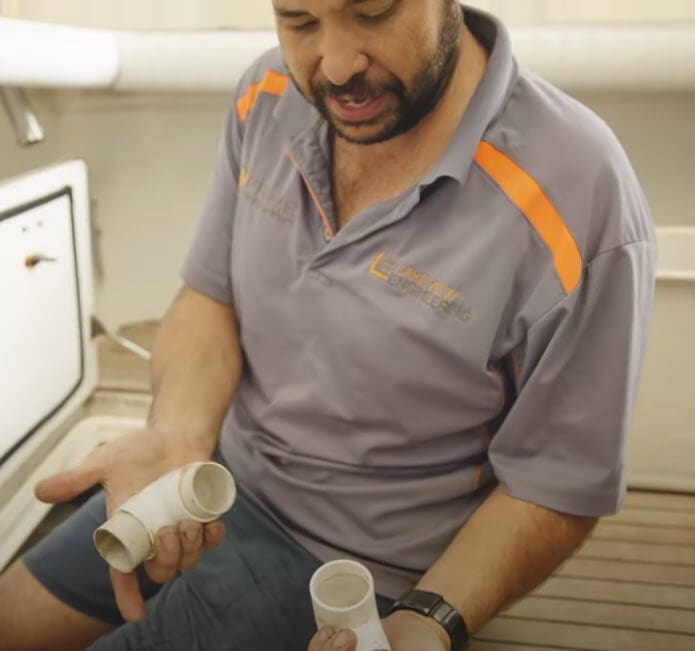
We also changed out all the sea cocks and replaced some very dodgy fittings!
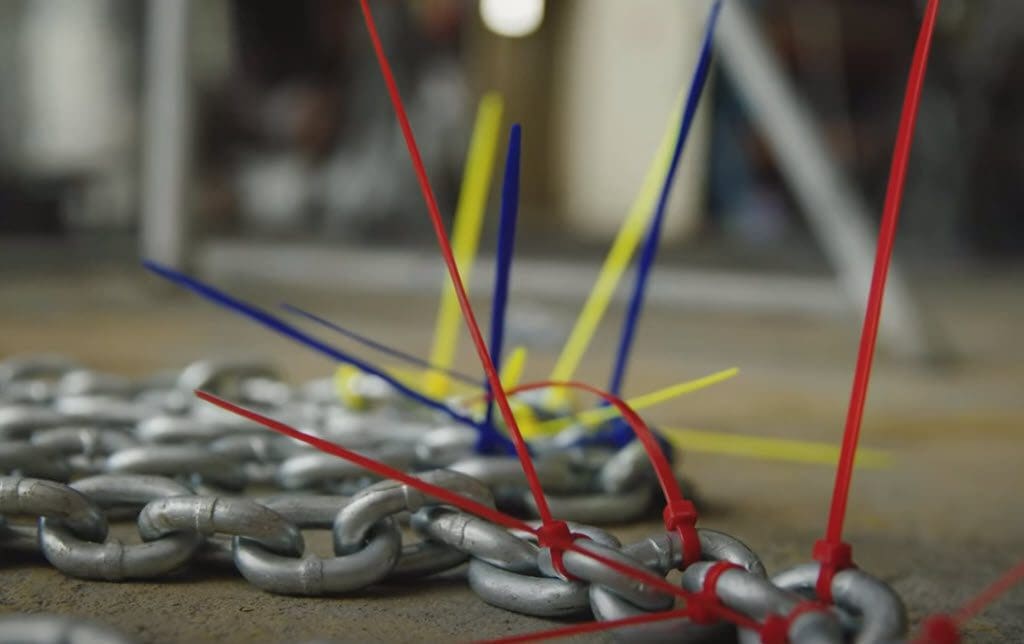
Some people skimp on hose clamps, but not us as a few $ extra can keep you afloat.
Sometimes it’s the little things that can bring you down (literally).
The slipping saga continues….
While we didn’t get the job done in the allocated three days, we managed it in five.
Pretty remarkable since Sam and I both came down with the flu on day three.
Getting the shaft coupling off the back of the gearbox also proved difficult.
But we got there in the end.
Completing the slipping!
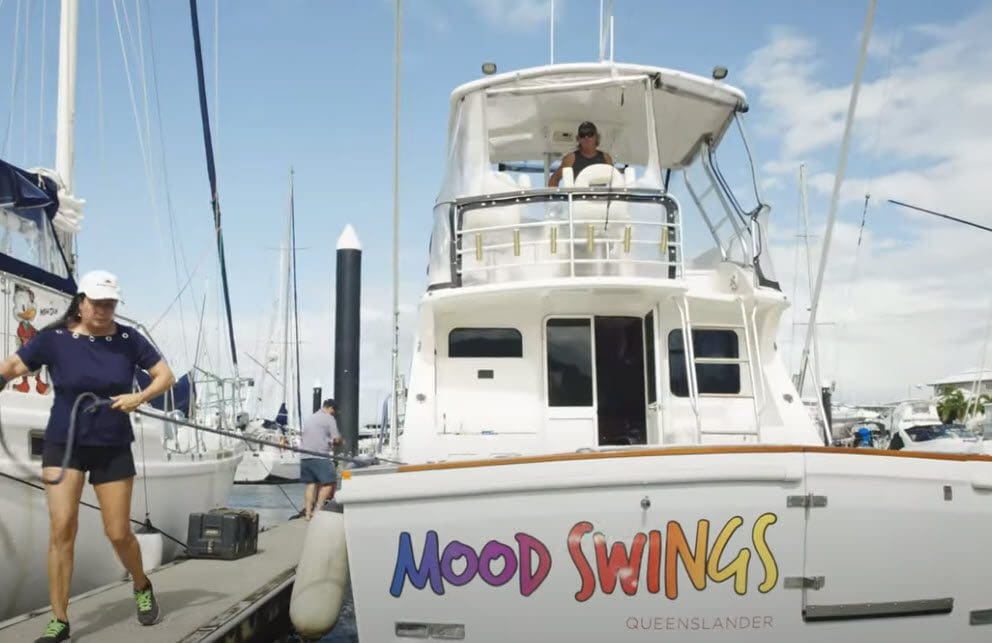
Finally, after 5 days she went back into her berth at the marina.
I must admit I did go down and check several times to make sure she was watertight.
A 30 mm hole like the one we drilled to install the Livescope transducer doesn’t take long to sink a boat!
She is now ready to go for the wonderful trips we have planned – if the weather subsides that is!
If you’d like to know more about Livescope we have a blog on the subject when we installed it on our barra boat.
And to get the best out of your fish finder, check out our introductory Fish Finder Fundamentals course : Sounder Skills 1.
For more fishing tips, tricks and travels, take a look at some of our recent content via the links below.


